Time to Read:
About 1 minute
This information explains how to take a blood pressure reading in the MSK Remote monitoring app using your OMRON 5 Series BP7250/BP7255 blood pressure monitor.
How to set up your OMRON 5 Series BP7250/BP7255
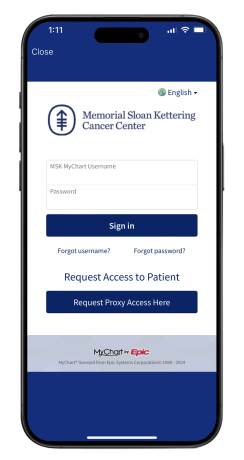
- Open the MSK Remote Monitoring app on your smartphone or tablet and log in using your MSK MyChart credentials (see Figure 1).
- Review the authorization screen and select “Continue” (see Figure 2).

- Review the data authorization screen and select a time range, then tap “Allow access” (see Figure 3).

- You will see the Devices screen. Look for the Blood Pressure Monitor tile. Select “Omron BP7250/BP7255 ” (see Figure 4).

- Tap “Take a reading” (see Figure 5).

-
Next, you will now need to pair your Omron BP7250/BP7255 to the MSK Remote Monitoring app.
- Press “Start pairing” in the MSK Remote Monitoring app (see Figure 6).
- Then on your Omron BP7250/BP7255 device, press and hold the Bluetooth button until you see a flashing ‘P’ on your monitor.

- The MSK Remote Monitoring app will need permission to connect to Bluetooth devices. Tap Allow when prompted to connect to Bluetooth (see Figure 7).

- Tap “Pair” when prompted to connect to Bluetooth (see Figure 8).

- You will see a message once your device has successfully connected to the MSK Remote Monitoring app. To take a reading tap “”Take a reading” (see Figure 9).

How to take you blood pressure using the OMRON 5 Series BP7250/BP7255
- Place the OMRON 5 Series BP7250/BP7255 blood pressure cuff on your arm.
- Press the start button on your blood pressure machine. Follow the instructions on your smartphone or tablet (see Figure 10).

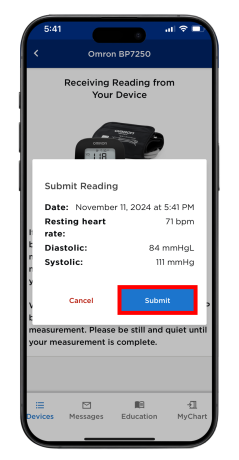
- Once the reading appears in the MSK Remote Monitoring app, tap “Submit” (see Figure 11).
- The screen will update to show your latest reading (see Figure 12).

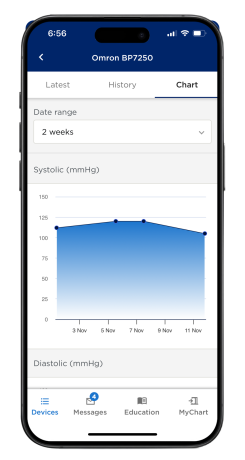
- You can also review all your readings in the “History” tab (see Figure 13). You can also view your readings as a graph in the “Chart” tab (see Figure 14).

Last Updated
August 14, 2025
Learn about our Health Information Policy.